Tuning and Stringing the Dilruba or Esraj
| STRINGING AND TUNING THE DILRUBA AND ESRAJ Section 1 – Introduction Section 2 – Basic Concepts of Tuning Section 3 – Overview of Strings Section 4 – Dilruba/Esraj Strings Section 5 – Tools Section 6 – Stringing the Base Section 7 – Stringing the Tuning Pegs Section 8 – Tightening the Strings |
It is obvious that stringing our instrument requires us to have the string fixed at both ends. It must be fixed at the base and it must be fixed at the tuning mechanism. In this page we will show how the string attaches to the base of the instrument.
| This book is available around the world |
|---|
Check your local Amazon. More Info.
|
Fixing a Guitar String at the Base (Dilruba)
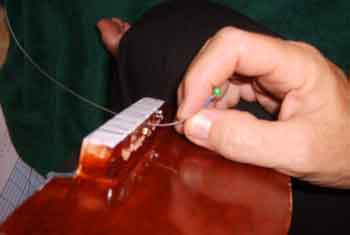
If we are using guitar or cello strings it is such a trivial matter that I am almost embarrassed to take the time to discuss it here. These strings have a small eyelet attached at the end. All that one has to do is to slip the string in through the base. That is all, there is to it. This is shown in the figure below. Not only is it easy to attach in this manner, it is also easy to remove. This is very important if you find that it is necessary to change your strings often in order to temporarily change the key of your instrument.
Fixing a Guitar String at the Base (Esraj)
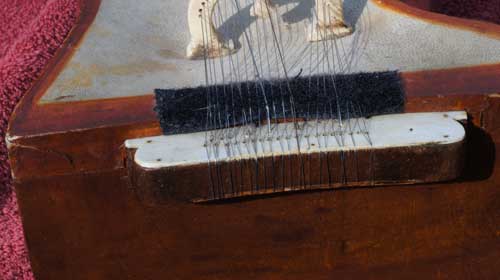
Attaching guitar strings with the eyelet to the base of the esraj is very simple. But the issue is not whether it is easy or hard, but whether we really want to do it or not. We must remember that the base of the dilruba is reminiscent of the sarangi, while the base of the esraj is actually closer to that of sitar or saringda. Therefore, we have considerably less area at the base to work with. The eyelets may be simple, but they do take considerably more space than a simple string.
There is a good general rule to use when attaching strings to the esraj. If we have no plans to remove the string, it is probably better to just cut the eyelet off and attach the strings in the traditional manner. On the other hand, if we think that we may need to switch out the string (e.g., main playing string and the Sa playing string), then we may wish to use the technique described here.
Step 1 – Take the end with the eyelet
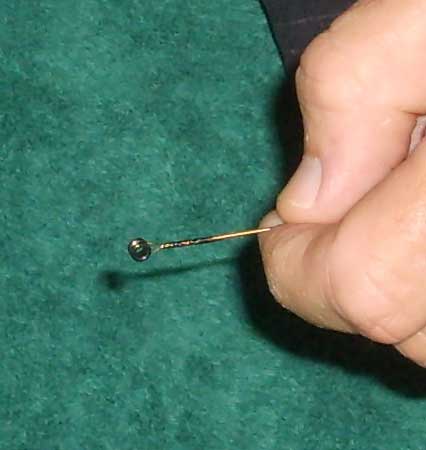
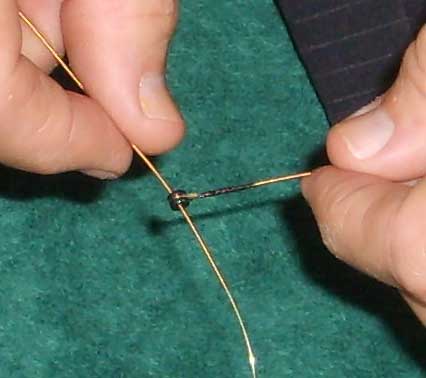
Step 2 – Pass the loose end of the string into the hole in the eyelet. This makes a noose.
Step 3 – Slip the noose over the post (Mogara) at the end, or any other mounting area. It is done!
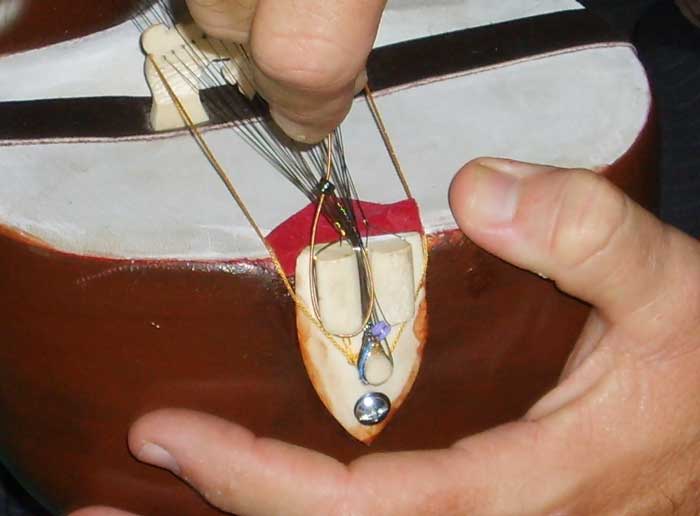
Fixing a Simple String to the Base (Dilruba)
There is a traditional means of a fixing the string at the base of the dilruba. This will be used when you have strings which do not have the eyelet attached to the end of the string.
Most people will use this approach when attaching the sympathetic strings. The reason for this is primarily economic. If you use guitar strings for all of the sympathetics strings, this is going to cost a lot of money. It is much more economical to simply buy a spool of string and cut it to the lengths that you want. Although this saves a lot of money, it does mean that your strings will not have an eyelet at the end. Therefore, you will have to pay some attention as to how to mount it.
Mounting the string in a traditional fashion is done in this manner:
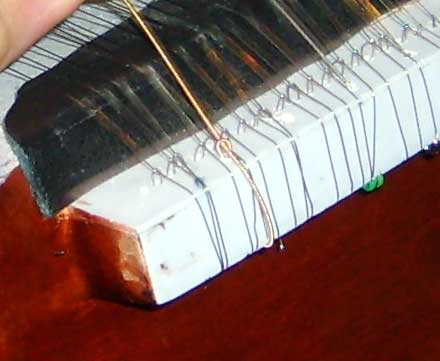
Step 1 – Take the string and insert it from the back side. One only needs for it to protrude a few inches.
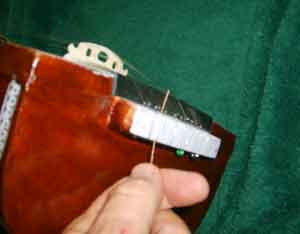
Step 2 – Pull the back portion around to the front. Bring it in close proximity to the short protruding end.
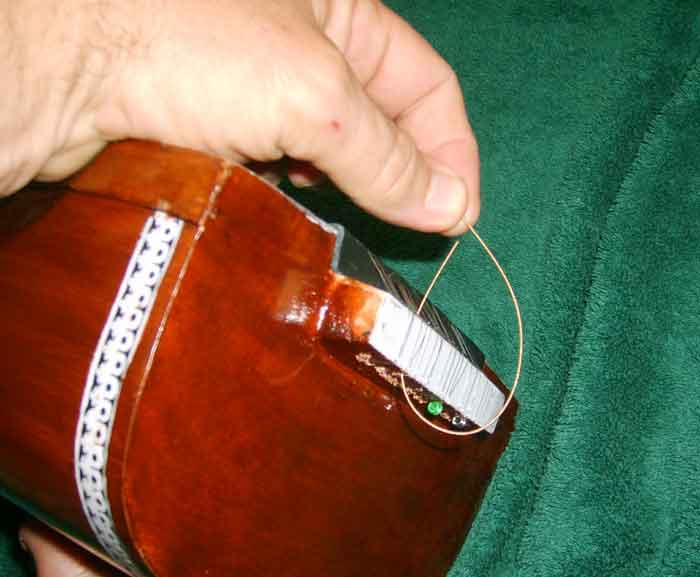
Step 3 – Make a bend of about 3/4th of an inch. Wrap this bent section over the string from the back
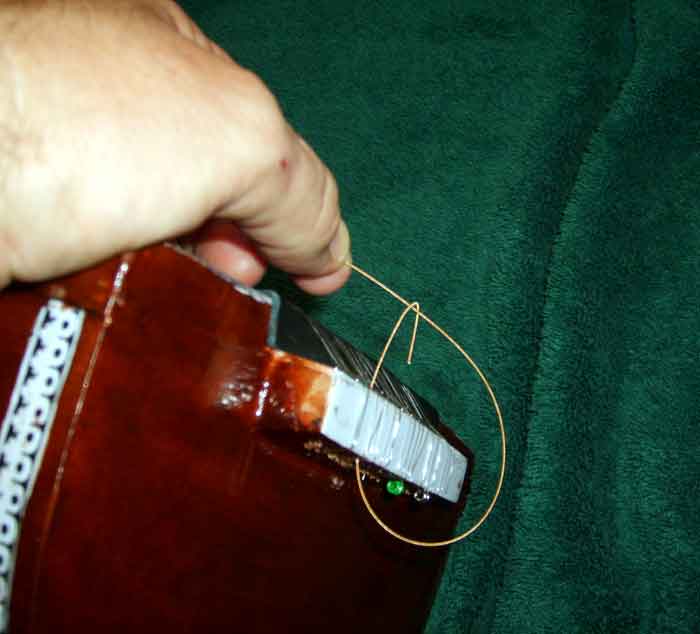
Step 4 – Insert the bent string back into the hole.
Step 5 – Pull tight.
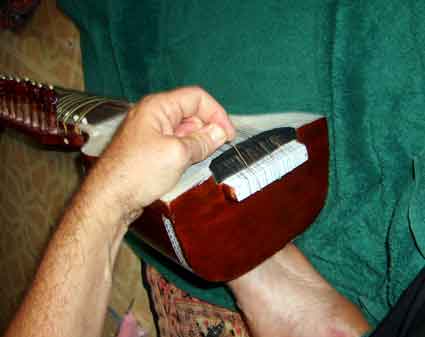
That is all there is to it! The finished attachment should look like the picture below:
Fixing a Simple String at the Base (Esraj)
Fixing the string to the base of the esraj is accomplished by attaching the string to one or more posts which protrude from the base. This is accomplished very simply.
Step 1- Take an end of the string.
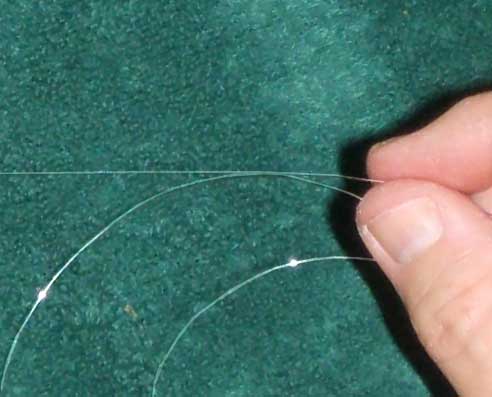
Step 2 – Bend it around the barrel of a pen or any similar cylindrical object. It is a good idea to make sure that the object has a diameter which is slightly greater than the post to which you will be attaching the string
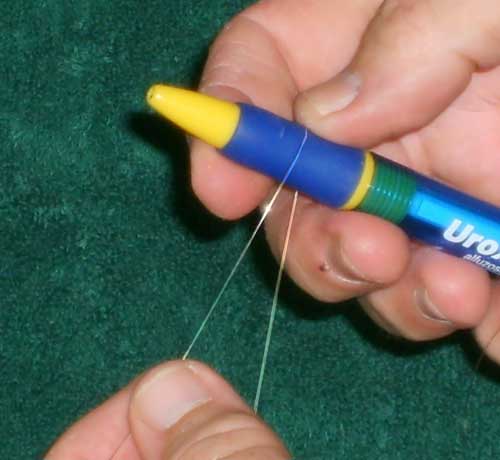
Step 3 – Repeatedly wrap the short loose end around the main body of the string. This will form a noose.
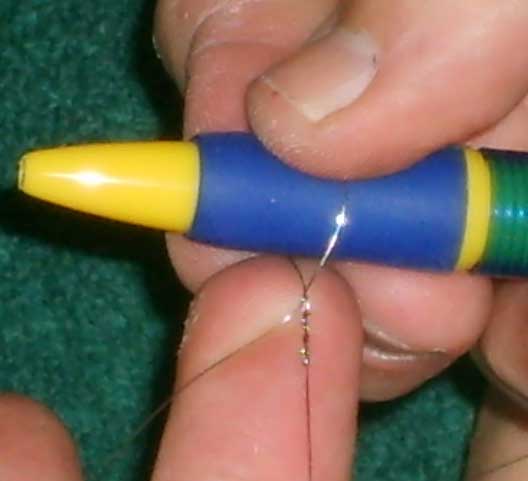
Step 4. Cut off the loose end. Try and cut this flush to the noose; this will minimise cuts and pricks at a later date.
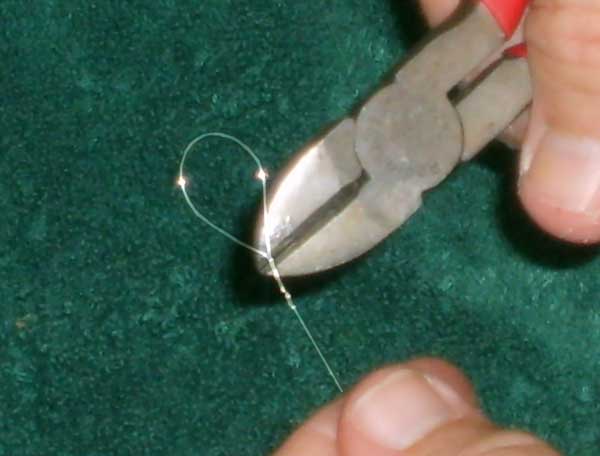
Step 4 – Place noose over the loose end of post.
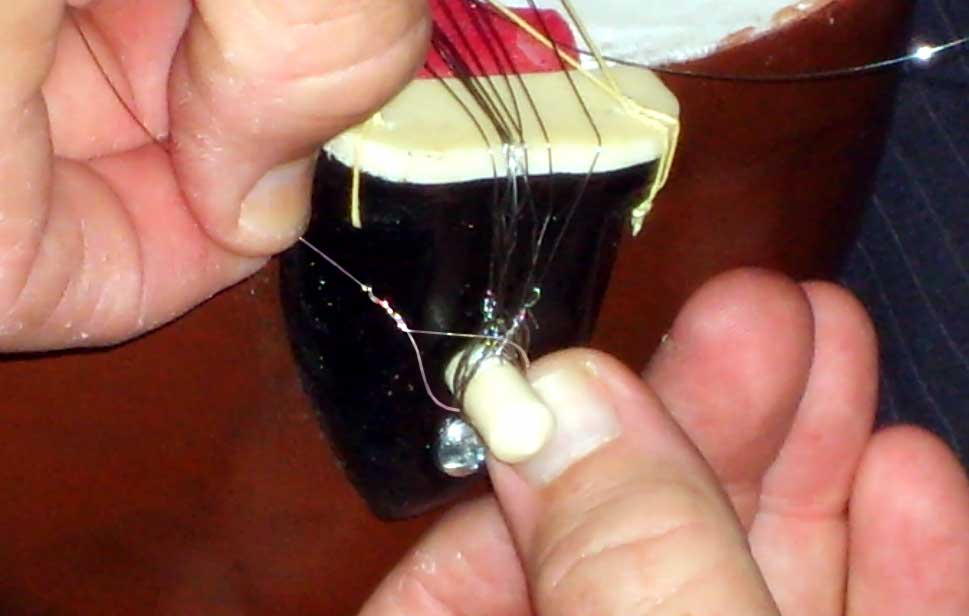
Step 5 – Tighten as usual.
| STRINGING AND TUNING THE DILRUBA AND ESRAJ Section 1 – Introduction Section 2 – Basic Concepts of Tuning Section 3 – Overview of Strings Section 4 – Dilruba/Esraj Strings Section 5 – Tools Section 6 – Stringing the Base Section 7 – Stringing the Tuning Pegs Section 8 – Tightening the Strings |