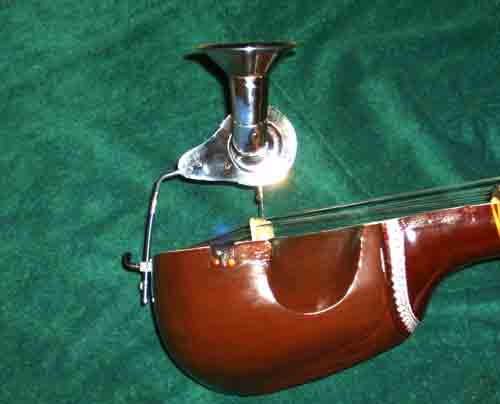
How to Build a Tar Shehnai from an Esraj
Introduction
This page will show you how to modify your esraj into a tar-shehnai. It will all be handled in an easy step-by-step fashion.
Purchasing the Tar-Shehnai Kit
The first thing that we need to do is to purchase a tar-shehnai upgrade kit. I am only aware of two sources, Raj Musicals and Manoj Kumar. Here are their contact particulars:
Manoj Kumar is based in Calcutta and is one source of tar-shehnai kits:
Their website is at http://www.monojkrsardar.com/
Their office address is:
6, Rabindra Sarani, 1st floor,
Kolkata – 700 001, West Bengal, India
Phone:91-33-2237 5835
Their showroom address is:
8A, Lalbazar Street,
Kolkata – 700 001, West Bengal, India
Phone: 91-33-2248 4519
Raj Musicals is another source of kits. Their address is:
2188/6 Main Road West Patel Nagar,
Opp. Metro Rail Pillar No. 225,
New Delhi-110008, INDIA
Their website is https://rajmusical.com/
Their telephone numbers are:
Tel. (Shop) : +91 11 25700413, +91 11 65492392
Tel. (Res.) : +91 11 25393877
(Mob) : +91 9810230320 (S. Raj), +91 9899272572 (Sanjeev)
Gather Your Materials
The next step is to gather the necessary materials and tools together. These are shown in the following illustrations:
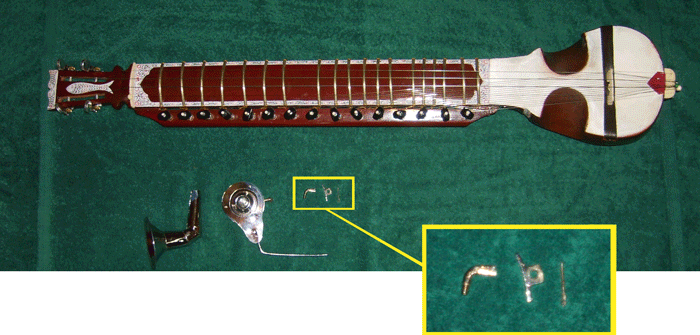
Here are the parts you will need.
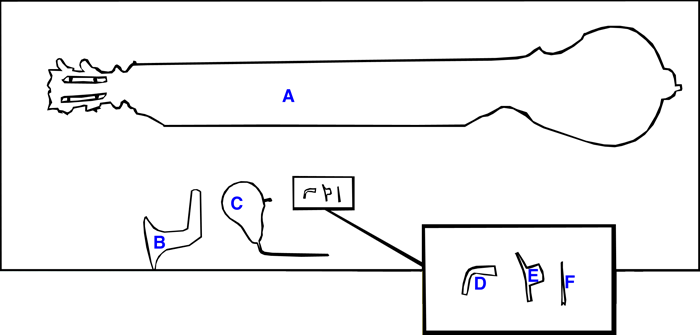
Refer to the table below for the parts
This is a breakdown of the required materials:
- A. Esraj
- B. Horn
- C. Soundbox
- D. Locking Screw
- E. Mounting Block
- F. Needle
- G. Wood Screws (not shown)
Additionally we will need some basic tools. This are:
- Drill with bits
- Screwdriver
- Pliers
Temporary Assembly
We must temporarily assemble all of the parts. The purpose of this is to find the correct place to drill the holes that are necessary to attach the mounting block. There is a further advantage of this step in that it acquaints us with the various parts and how the entire tar-shehnai functions.
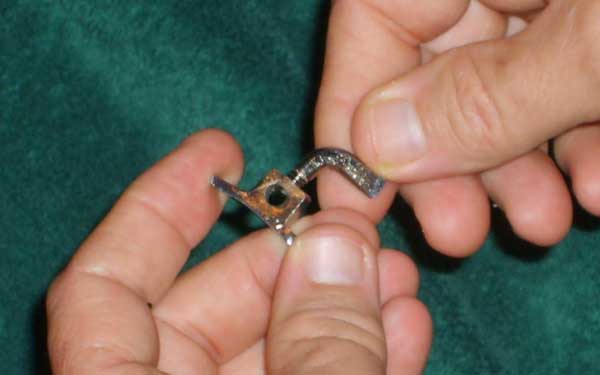
Let us first screw the locking screw into the mounting block. This is shown below:
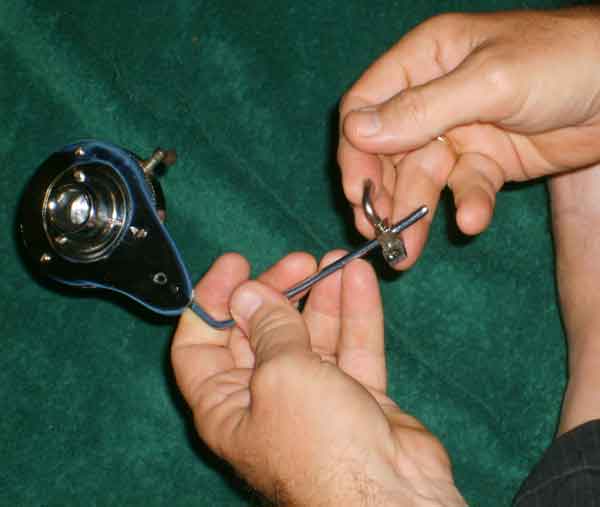
Next we place the mounting block and locking screw over the spike. Secure this only to the extent that it will not fall off. It should be free enough to be moved up down or rotated.
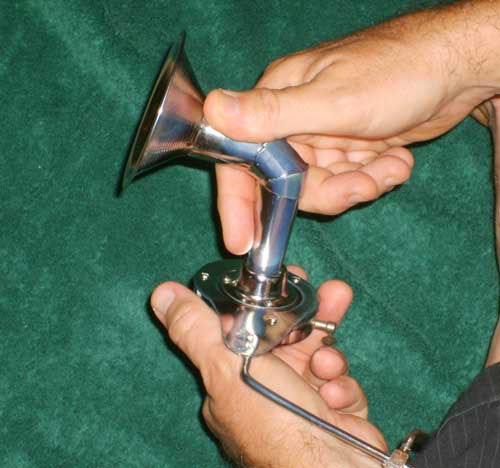
Next we attach the horn.
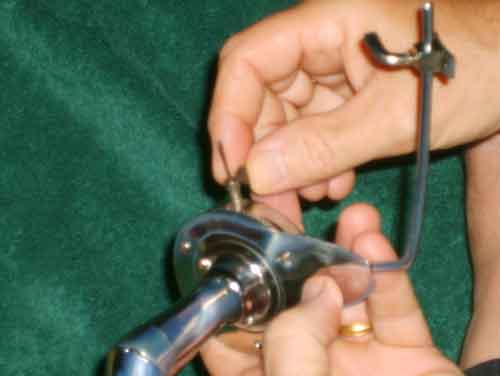
Insert the needle, and gently tighten the screw. Again it should only be tight enough to keep the screw from falling out.
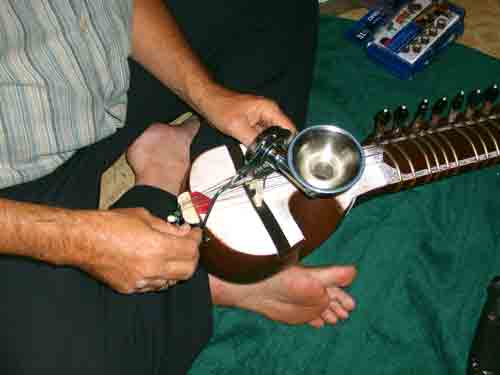
We now place everything on the esraj and position the various components as close to a final form as we can. Try and engage the needle to the string at just less than a cm. from the bridge, (approx 1/4 of an inch). You will have to experiment at this point, but there is definitely a “sweet spot” that you have to find.
A few words are in order concerning this “sweet spot”. It is a narrow zone roughly 5-12 mm from the bridge where you wish to engage the string. You can experiment with different positions in this range and you will find considerable variation in tone. You own particular tastes may veer closer to the bridge or they may veer further form the bridge, but still 5-12mm is probably a good zone to work within.
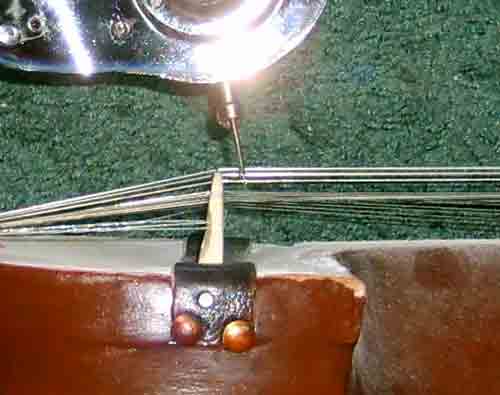
Once you have found how everything should be laid out, make a special note to yourself as to the position of the mounting block.
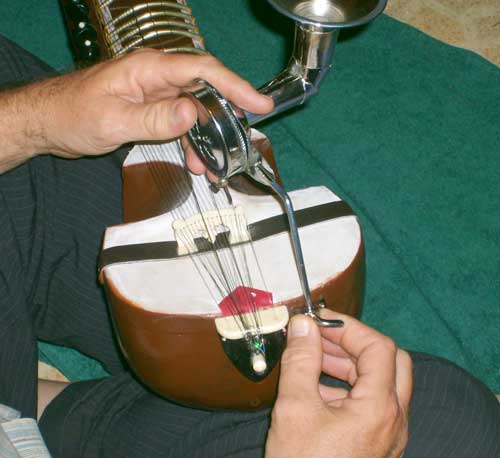
Remove the mounting block from the spike. Now just take the mounting block and lay it against the esraj in the position that you previously determined. Mark the holes with a pencil or marker.
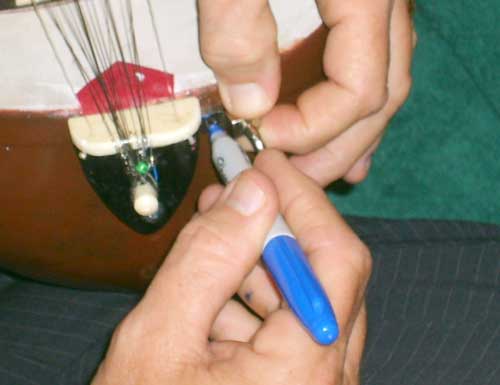
Attaching the Mounting Block
We must now attach the mounting block. This involves drilling the pilot holes and attaching the block with woodscrews.
Look at the wood screws and select a drill bit that is appropriate for the pilot holes. If the pilot holes are too big, the tar-shehnai assembly may pull itself loose. If the pilot holes are too small, you run the risk of splitting the wooden resonator of the esraj. Drill the pilot holes in the positions that you previously marked.
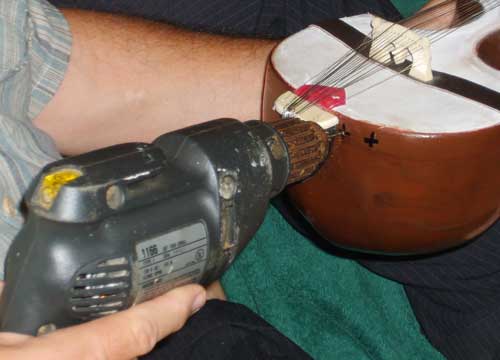
Now you permanently attach the mounting block with the wood screws.
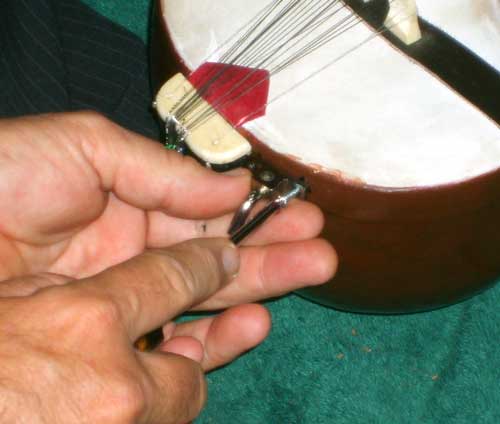
Now fix the horn, and sound box to the mount.
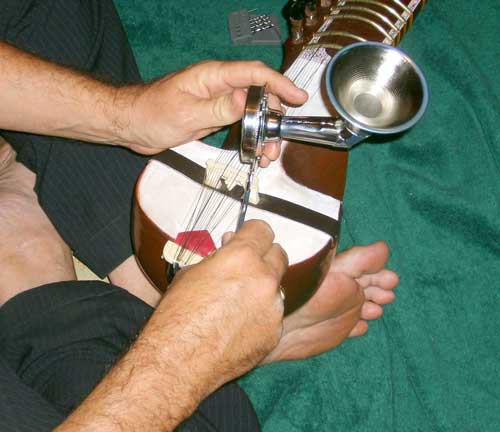
Now try it out.
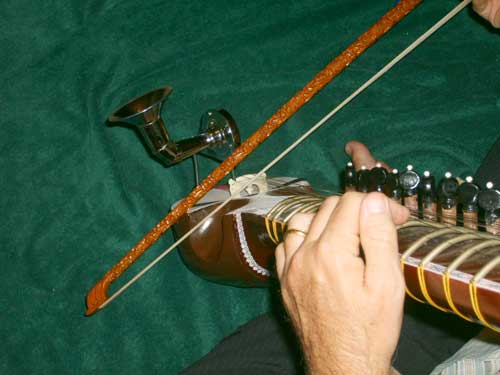
Invariably at this point something will not quite be right. Very often the position of the tar-shehnai attachment interferes with proper bowing. Sometimes the needle just does not engage the string in its “sweet spot”. For whatever reasons, you identify what is wrong and mentally decide what needs to be done.
These last minute corrections will be made by gently bending the spike to alter the way that the tar-shehnai attachment connects to the esraj. When bending the spike it is very important to hold the spike firmly with one hand and bend with the other. do not attempt to put any pressure against the place where the spike attaches to the sound box. Putting undo pressure against this part will cause the spike to break away from the sound box, thus necessitating further repairs. (Trust me on this point, I KNOW what I am talking about here 😉
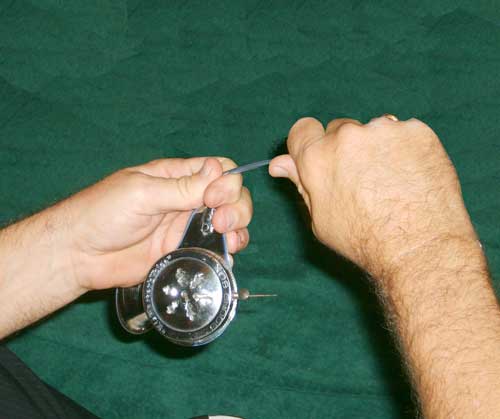
When everything is done your tar-shehnai should look something like this.
